|
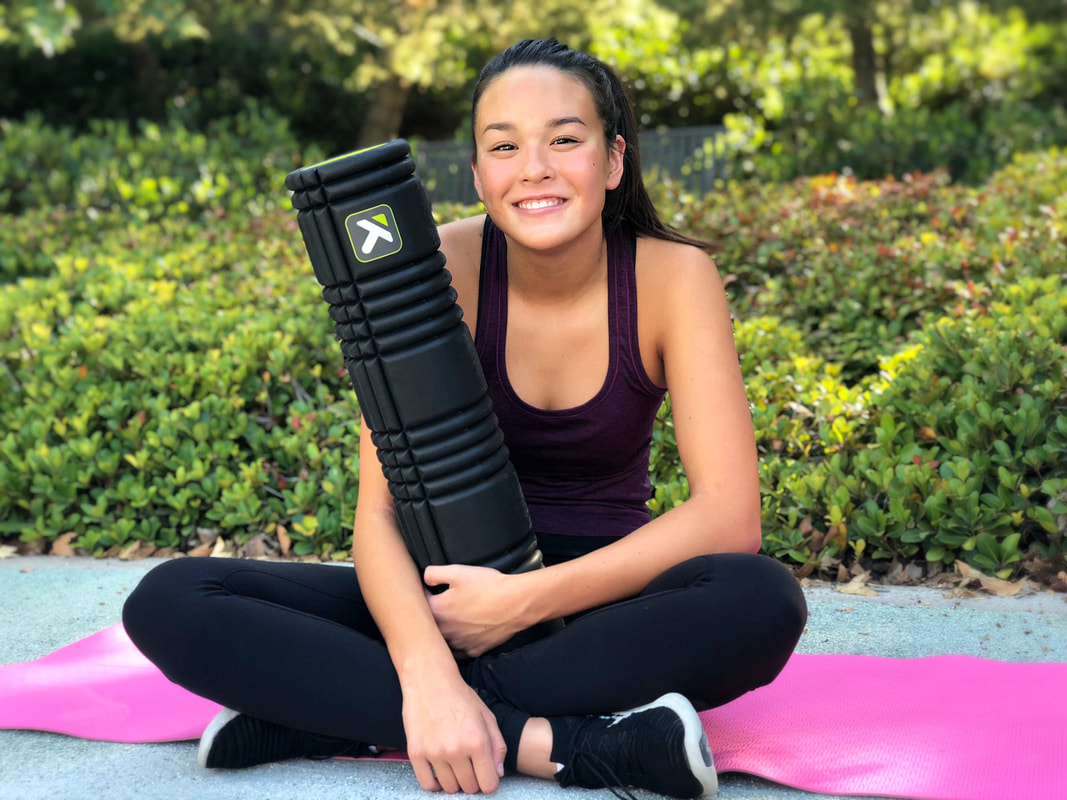
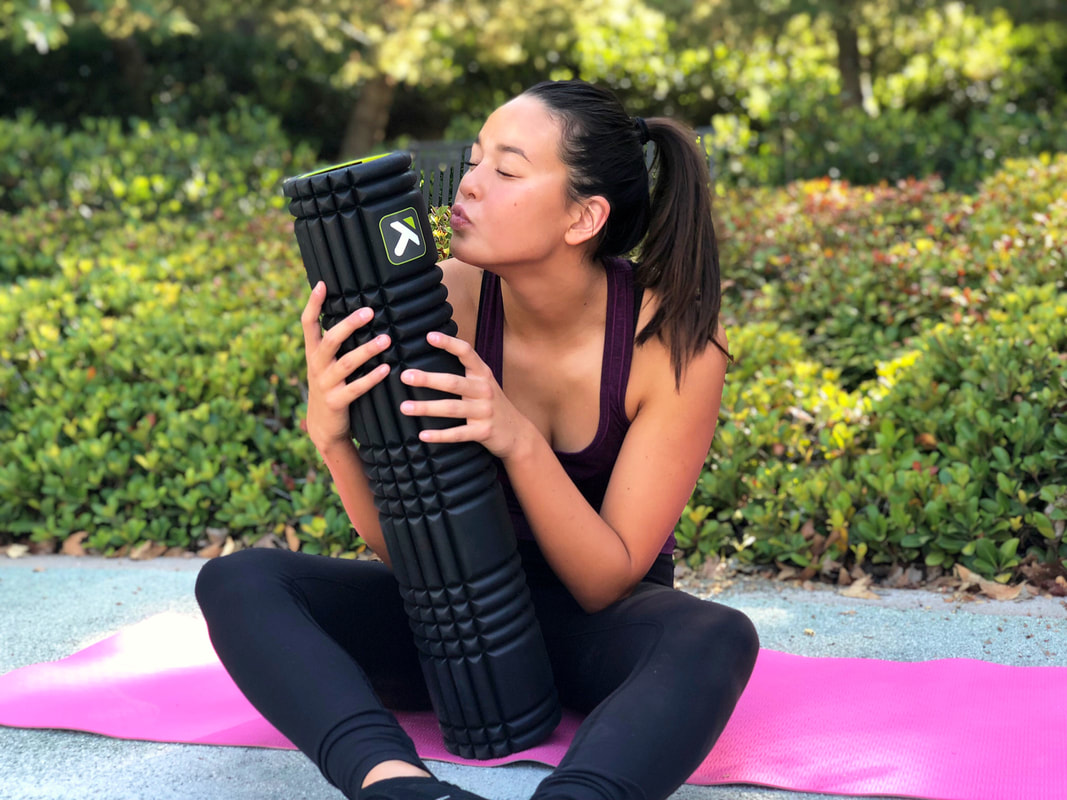
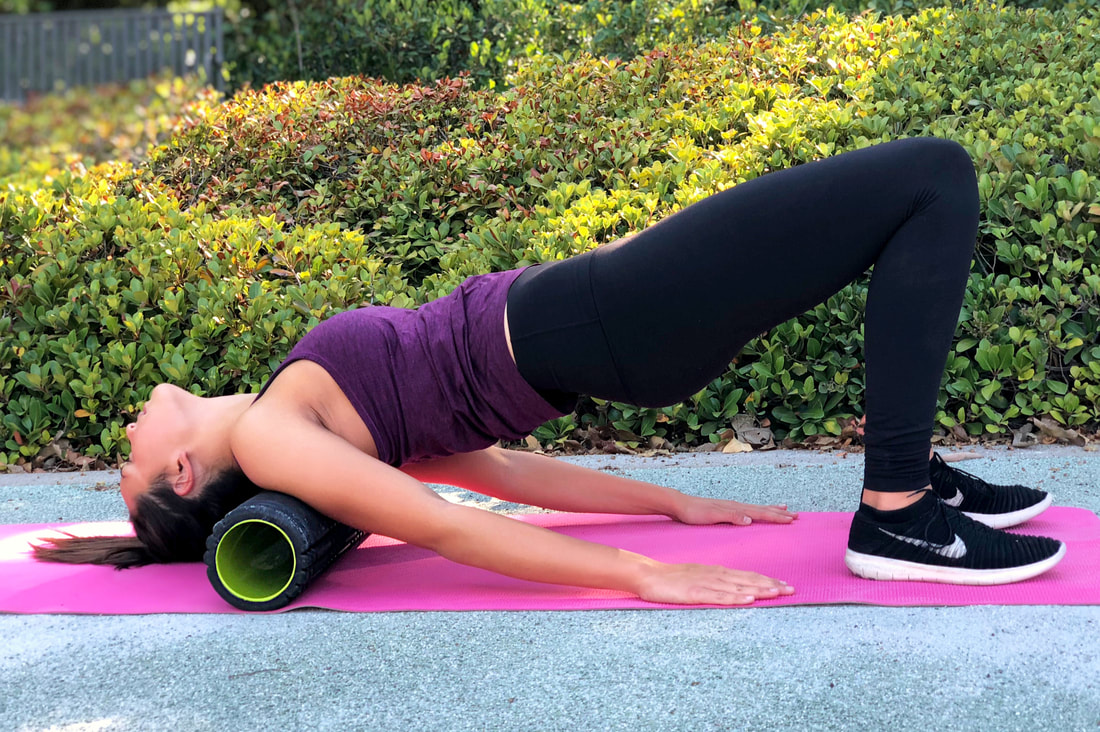
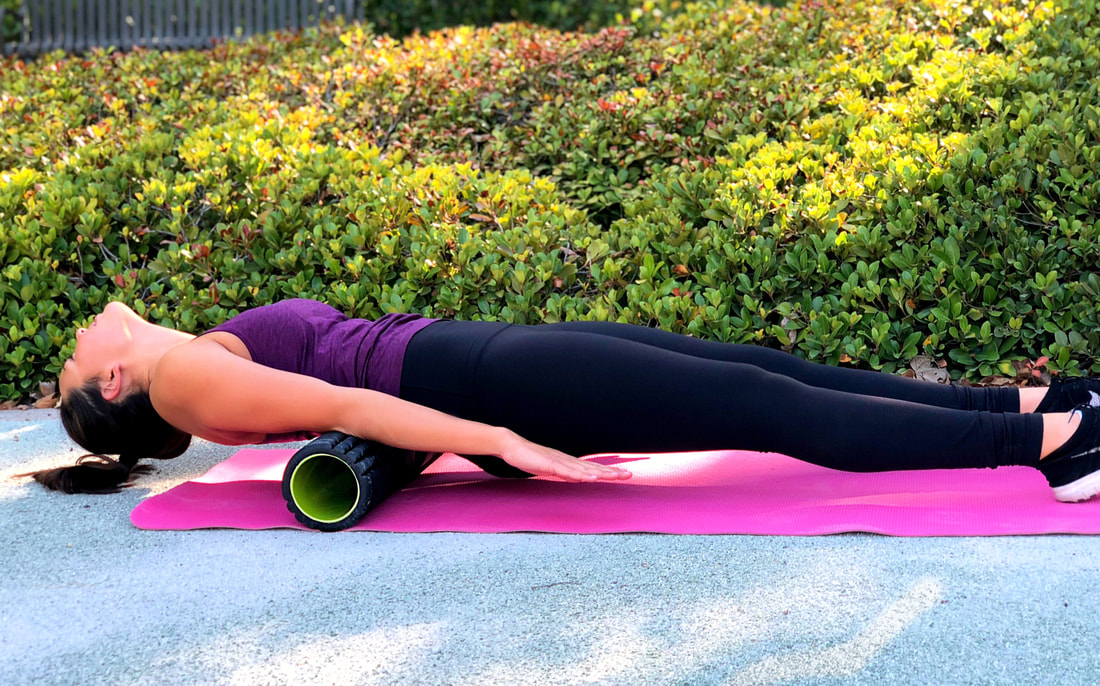
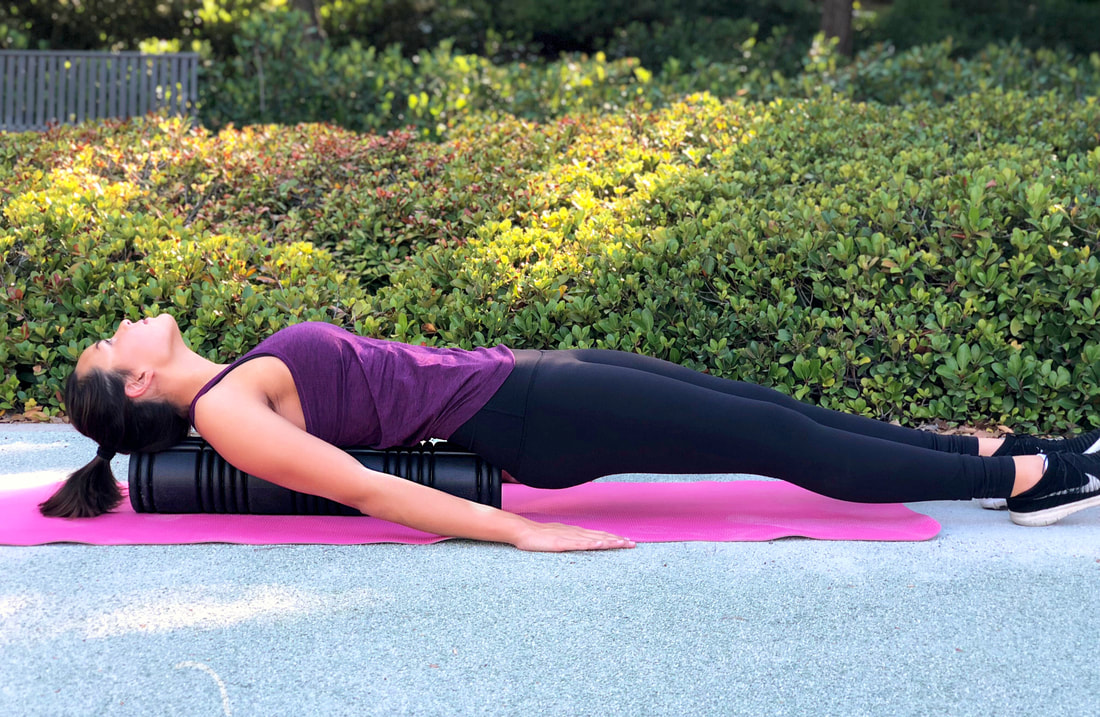
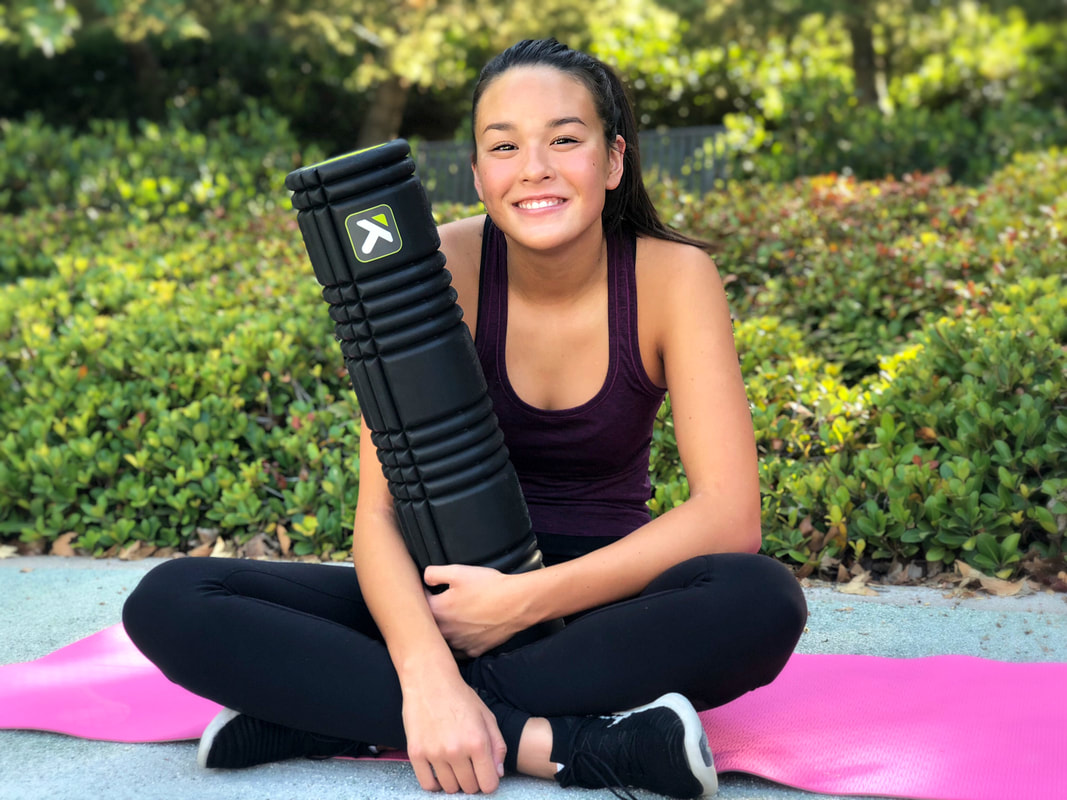
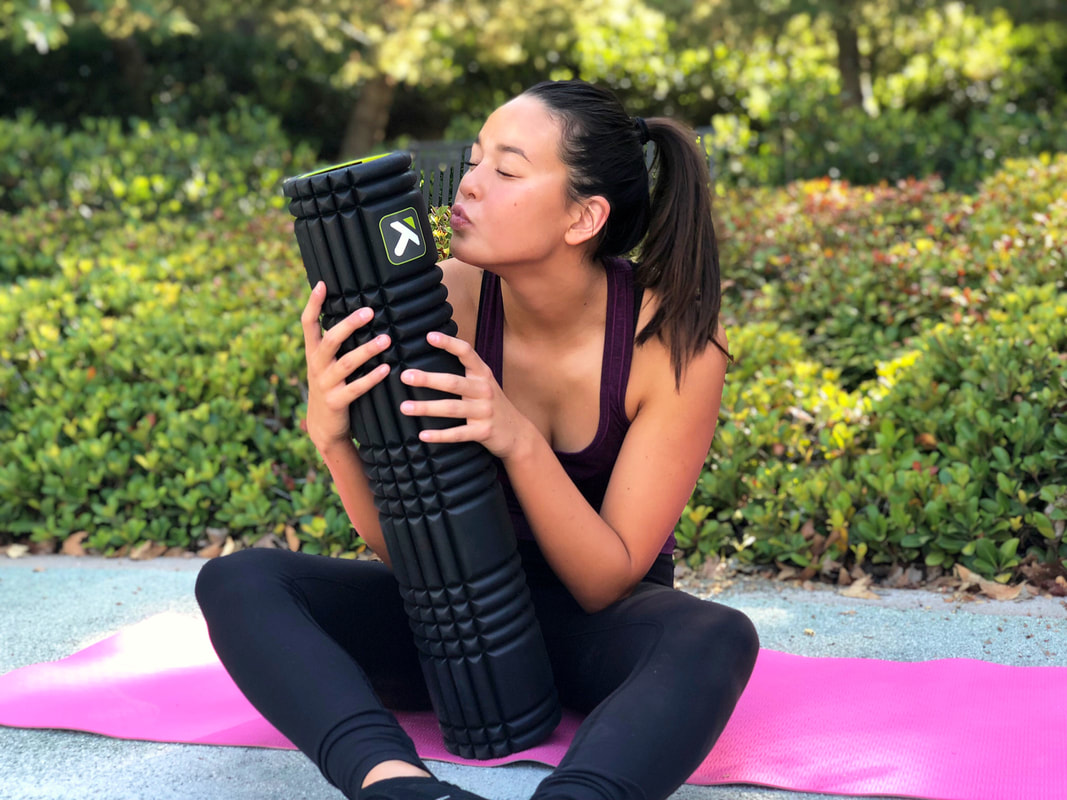
I recently got hooked on a new hobby, or as I like to refer to it, a lifestyle. Rolling. I am practically swinging from the rooftops, cheering about just how great my muscles feel. Loose! Relaxed! Ready to face whatever comes my way! I’m armed with a foam slab that is a solution to every problem you could possibly think of. I am determined to make everyone in my life try this profound discovery. Hence, I’m here to share with you the roller I use and the stretches that have helped my back out the most. My Foam Roller The love of my life. This is the best thing that I’ve bought all summer, HANDS DOWN. If I am the tiniest bit sore, then eleven times out of ten I grab this and have a go at it. I have to admit, sometimes, I just tell myself that I’m sore or stiff just for the sole purpose of being able to use it. There are so many foam rollers floating in the mystical foam roller world, that it can be a bit overwhelming when you first start to hunt for one. I’ve found the perfect fit for me with this TriggerPoint GRID Foam Roller from Amazon. It’s bloomin’ pricey for a hunk of foam, but, in my mind, it’s completely worth the money. The ridges are prominent enough to stimulate the muscles, but not leave any bruises. The length fits perfectly along my back. In case you haven’t noticed, I LOVE IT. Neck and Upper Back Being a newbie, I’m definitely not an expert on the complex science of rolling, but I like to think that I know the basics. Generally, I do twenty rolls back and forth for each part of the body that I’m rolling out. First, I roll in small motions just along the back of my neck and down to my shoulder blades. Especially along the shoulder blades. I’ve found that I am quite sore by the shoulder blades, so I often focus my rolling around that area. Middle and Lower Back Using longer motions, I sweep the roller from the bottom of my shoulder blades all the way down to my lower back. Balance can be a bit tricky when it comes to this stretch, especially considering that I am practically the clumsiest person you’ll meet. If you have lower back pain, this roll is perfect for you. Between the Shoulder Blades (and the Entire Back) My favorite. This pose works perfectly for getting between those stubborn shoulder blades. The roller I use is quite long, so it reaches all the way from my neck down to my lower back. I just roll back and forth on this roller a few times, and voila! Good as new! Did I mention that this is the most fun to do?
I don’t think I’ve ever been this happy to discuss (in depth) anything exercise related. Hopefully you can find a pose that helps out when you have an achy back. And in those times when you are sore or stiff, and tired of the pain, remember, we’re bent, not broken! :)
0 Comments
I’m one of those people who actually loves being sore. When it hurts to laugh because you’re abs (or, in my case, pudding cups) seem to have been tied into a knot or it hurts just to lift the remote to play the latest episode of Friends, I like that. There is something so satisfying about literally feeling your hard work pay off. But I promise not to get too workout-guru on you guys. However, I must admit, that I am not a fan of back pain that hurts so much that I look older than my grandpa, hobbling and bending over because I can’t stand up straight. It’s like a cartoon (Ah! My back!). Especially when you’ve had new pads added to the inside of your brace. I can feel the stares as I attempt to walk around in public. So, here are my tips for managing the aches. Stretch My biggest relief recently has been working out. I swim and do some weights (I can barely deadlift just the bar in the gym) to build my back muscle and also like to do yoga and pilates to stretch out. I find that exercise can relax my tense muscles, stretch them out, and give them a break from my brace. I also, recently got this foam roller and wow. How did I manage without it, eh? Life changing. I am all the better for it. I am a changed person. Just look up a video on YouTube on some positions for rolling out and you’re set. I’m also planning on doing a post about my favorite positions soon, so look out for that ;). Heating pad I’m not always in the mood to work out (who is?), so I always fall back on one of the best inventions since sliced bread: the heating pad. There’s something about channeling my inner burrito and sandwiching myself between two heating pads that gives me a thrill while loosening my muscles. Deep Blue I have this rub and essential oil set called Deep Blue that is pretty similar to Tiger Balm in that it soothes any muscle soreness that I have. I especially like using it after a hard workout, but recently found that it works really well on my back. Basically, I just slap on some of the oil, followed by the lotion, and the resulting burning feeling is so satisfying - it really works to loosen the muscles. Deep Blue does have a strong peppermint scent though, so if you are sensitive to smells, you might consider using an alternative. Despite all the aching and soreness, living with scoliosis is something we have to accept. Soreness only lasts a few days if you stick to the right schedule with the brace, and hopefully these tips help! Remember, we’re bent, not broken! :)
As it’s starting to warm up (although in Southern California, it rarely gets below 70), I figured that this would be the perfect article to upload. Having a brace around your torso for most of the day can take a toll on your skin, and especially in the summer, when it’s hot, having a sweaty piece of clothing pressed against your skin can limit the amount of oxygen that your skin takes in.
I have eczema, so I have sensitive skin, which means that I often get a rash around my torso (TMI? If so, sorry...just trying to be real ;). It is important to take time out of your brace to give your skin a break - even if it is only for a few minutes. I wear a cotton tank under my brace to try to maximize the breathability for my skin under the brace). I also try to change my tank every morning and night. When my skin gets irritated or I have a reaction, I put Cortizone or aloe on it to soothe the itchiness of my skin. I was also prescribed an ointment (does anyone else find that word unappealing?) from my doctor that helps as well. Once that is completely absorbed into the skin, I put my brace back on. When treated properly, these rashes generally go away within a day or two, so there usually aren’t any long term damages to the skin. If there is a lasting effect of the brace on your skin, I would recommend seeing a dermatologist for further treatment. Also, to prevent these irritations from forming in the first place, it is important to take showers frequently and clean your brace, which can be done with rubbing alcohol (look out for an article specifically for cleaning your brace, coming soon!) Good luck...and remember, we are bent, not broken! :) I have to confess that I am not good enough about stretching. I never do it before a workout, and rarely do it after, but whenever I do, I always feel much more at ease (both mentally and physically). I do, however, try to stretch every morning and night, just before or after taking off my brace, because I get more stiff wearing the brace for a couple hours than I do sitting in the same chair at school for six hours.
Honestly, I didn’t know about the whole stretching world that existed (it seems that a new yoga or pilates studio pops up every week) until a couple of months ago. I made this exciting discovery when, after practice one day, my muscles were tight, and I looked up a stretching video on YouTube (there are tons, if you don’t want to pay an absurd amount to be told to breathe in a hot, sweaty room). It was at this time that I realized that I couldn’t even reach my toes. Pathetic for a limber teenager. And so, my stretching journey began. When I’m in a rush and don’t necessarily have time to do a full body stretch, I usually just focus on these 5 stretches. These are the stretches that really help to relieve tension in my back muscles from wearing the brace for long periods of time. The tightness, while annoying, can be easily relieved, especially if you remember, we’re bent, not broken! :) Streamline 1. Start lying on your back. 2. Reach your arms up and squeeze your ears, with one hand on top of the other. 3. Point your toes and reach with your arms to elongate the body. Benefits: This stretch is a great way to start stretching. It loosens up the leg muscles, torso, and arm muscles. I tend to begin and end my stretching routine with this stretch. Picture Cobra pose 1. Start lying on your stomach, with your legs straight. 2. Place your hands directly under your shoulders and arch your back. 3. Point your toes and press your feet and thighs into the ground. 4. Hold for about 30 seconds, with regular, deep breathing. Benefits: This stretch strengthens the spine and opens the chest and shoulders. Knee to Chest 1. Start lying on your back. 2. Place one leg flat on the ground. 3. Lift the knee of your other leg up towards your chest. 4. Grab your knee with both hands and pull your knee towards your chest until you feel a good stretch. 5. Release after 30 seconds and repeat with the other leg. Benefits: This stretch loosens the lower back and hamstrings. Child’s pose 1. Start on your knees with your toes touching and your knees apart. 2. Sit back until your hips are as close to your heels as possible. 3. Lean forward and place your forehead on the ground, with your arms reaching forward and palms on the ground. 4. Try to reach your hands as forward as they will go and hold for a few minutes. Benefits: This stretch is relaxing and helps stretch out your shoulders, upper back, hip, thighs, and ankles. Cat stretch 1. Position yourself on your hands and knees. 2. Keep your knees hips length apart and your hands shoulder length apart. 3. Make sure that your hands are directly under your shoulders and your knees are directly under your hips. 4. As you inhale, bring your back up, to be round and look down to your belly button. 5. As you exhale, release and arch your back. Point your head to the ceiling and stick your bottom towards and ceiling. Benefits: This stretch helps control breathing with slow, deep breaths. It stretches your shoulders, neck, and lower back. I have been experiencing quite a bit of dry skin recently, and not just dry, but full blown, sandpapery, chapped, peeling, skin. It's like the Sahara Dessert over here. So, in the past few months, I've been on the hunt for the perfect, skin-quenching product, and I have found a few products that have quickly become holy grails. I'm not a fan of body lotion after the shower...that sticky feeling when not everything has absorbed makes me feel more like a sweaty pig than a glass of water. But, recently, I've found a few thicker creams that have really helped my dry skin, while still absorbing well. Kiehl's Creme de Corps (despite the price tag) has worked wonders for my hydration levels. Aveeno's Daily Moisturizing Lotion is another great, more affordable option. If you are looking for something a little bit lighter, Aveeno is one of the brands I would suggest - good for the skin, but not too thick. If you are like me, and are not into moisturizing after the shower, an in-the-shower oil could be a great option. I just discovered oils, and I have not been able to put them down. I love the Loccitane Almond Shower Oil and Neutrogena Body Oil (which doesn't smell as fragrant as the Loccitane one, but works, just as well). If you want something heavier than an oil, but still don't want the hassle of lotions, LUSH Ro's Argan Body Conditioner is perfect when your skin needs a nice, warm hug. Happy pampering! And remember, we're bent, not broken! :) |
Hi, I'm Kate.A 16 year old SoCal-raised student, swimmer, and scoliosis patient with a love for Netflix, Pinterest, and Harry Potter. Archives
August 2018
|

